
- June 20, 2018
- Desserts
Keto Ice Cream Cones
Bon Appeteach is a participant in the Amazon Services LLC Associates Program, an affiliate advertising program designed to provide a means for sites to earn advertising fees by advertising and linking to amazon.com. I only share products that I use and stand behind personally.
Keto Ice Cream Cones:
Summa time and the living is low carb! Ha!
Ok, so I had a hunch last week that my trusty ol’ Keto Tortilla Recipe could once again be tweaked and converted to create a classic summertime treat, the ice cream cone. I already was successful at recreating the dough and made these Mini Keto Chocolate Peanut Butter Tarts, so ice cream cones had to be a possibility right? Right! I absolutely love how well these turned and hope you love them too. Find the full recipe for the Keto Ice Cream Cones below and read on for tips and tricks!
“School” Supplies:
- Cream Horn Molds
- Food Processor
- Rolling Pin
- Parchment Paper
- 3.5″ Cookie Cutter
“Class” Notes:
The dough is made in a few quick steps with the food processor. I have not tried making it any other way. I find that it binds the dough the best. If you don’t have a food processor, then use a stand mixer or hand mixer. The xanthan gum is a crucial part to making the dough. This helps it bend and bind the ingredients together to prevent it from cracking. After the dough is made, I rolled it out to about 1/4″ thickness. Use a cookie cutter or glass cup to cut out the circles that will be used to make the cones. The cookie cutter I had was a little to small, so I rolled each circle out a little more between two sheets of parchment paper. This made them about 5″ around and worked perfectly with the cream horn molds.

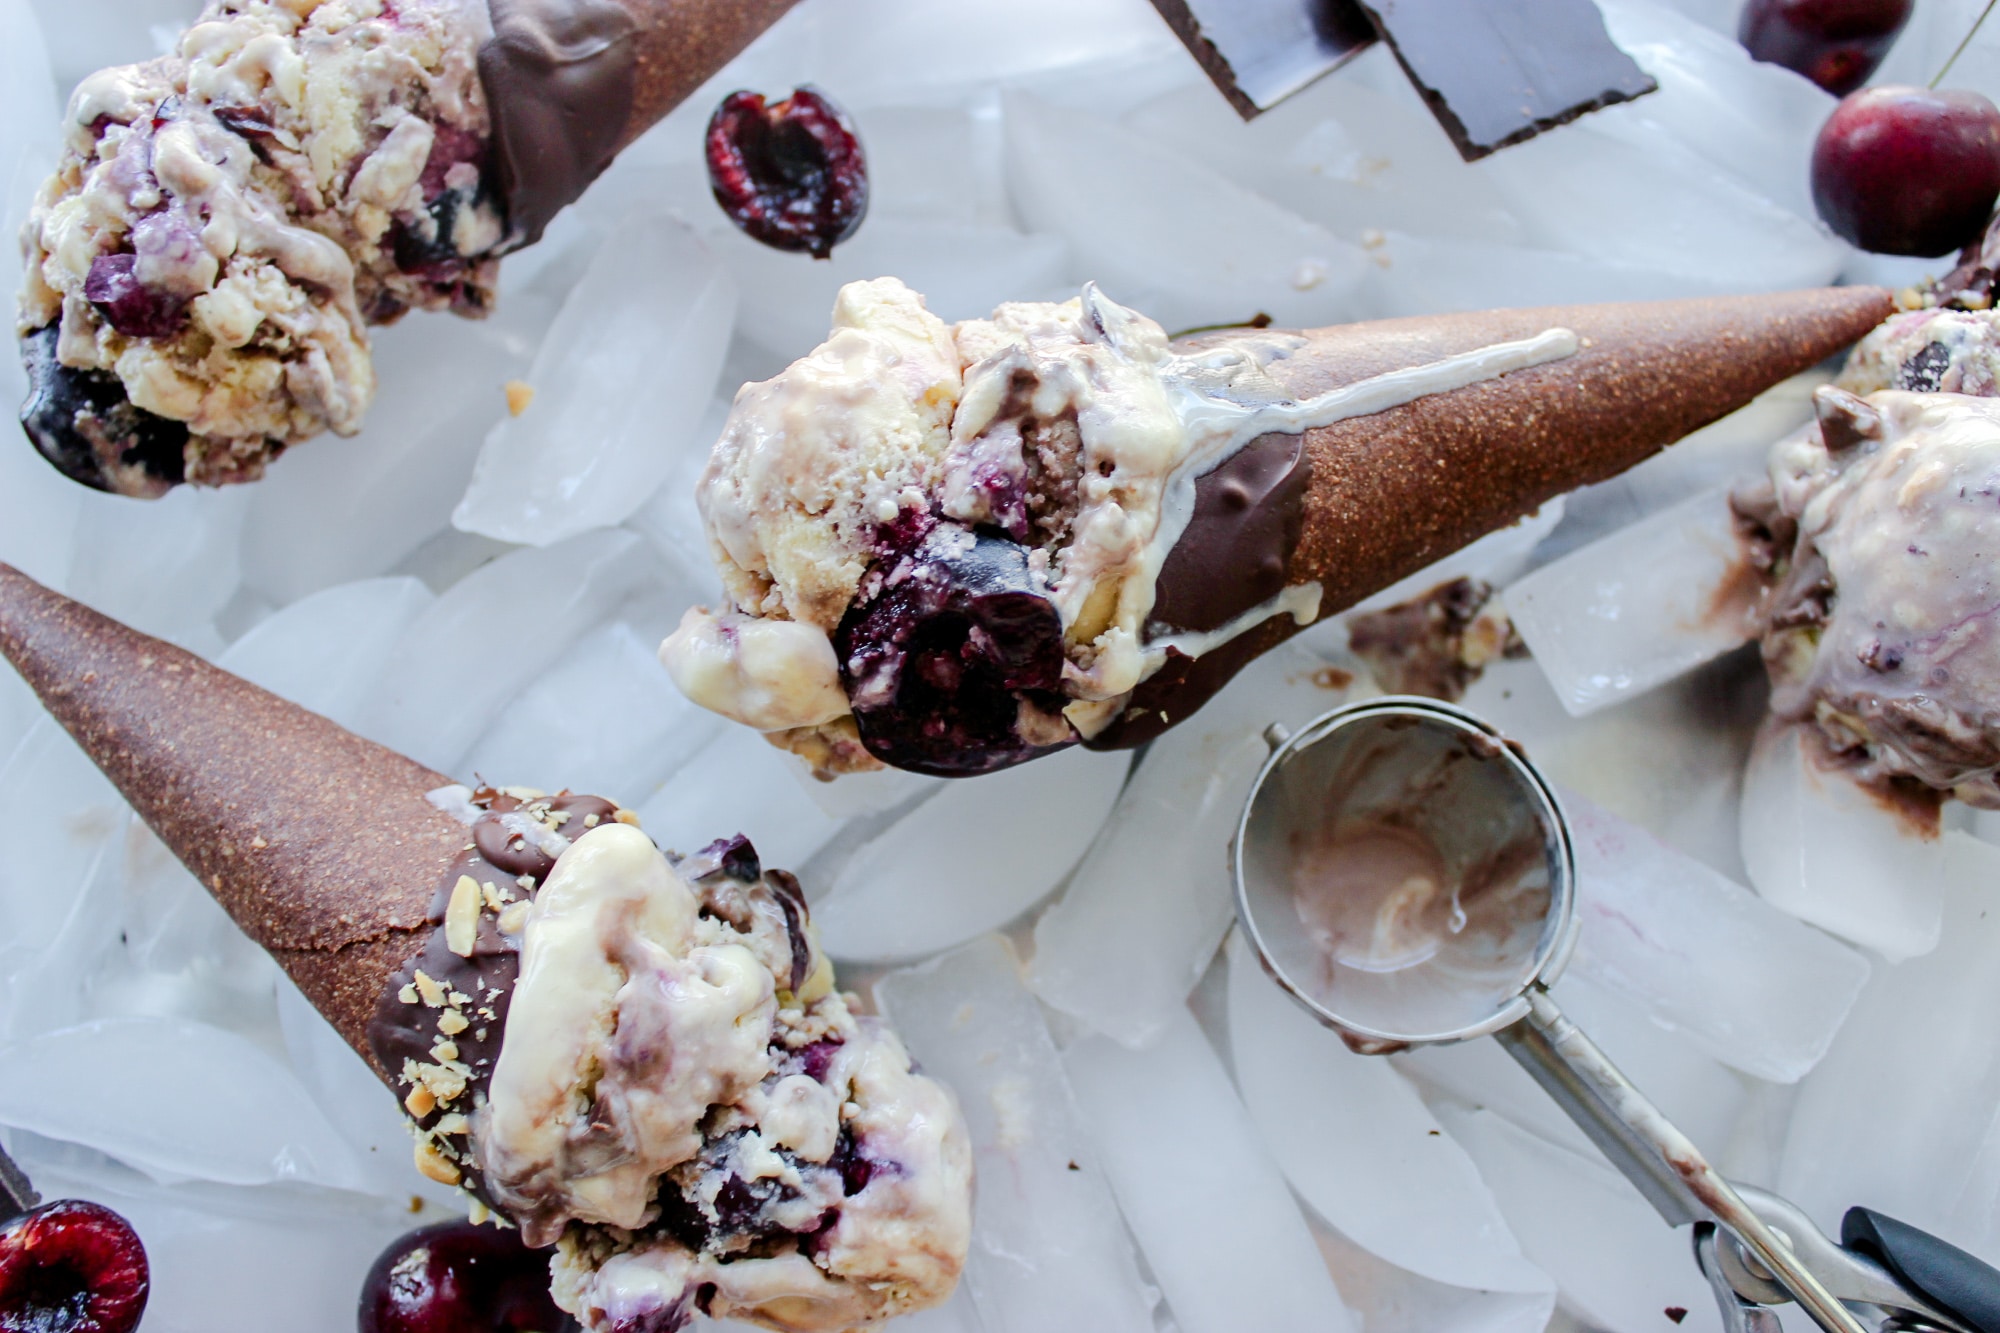
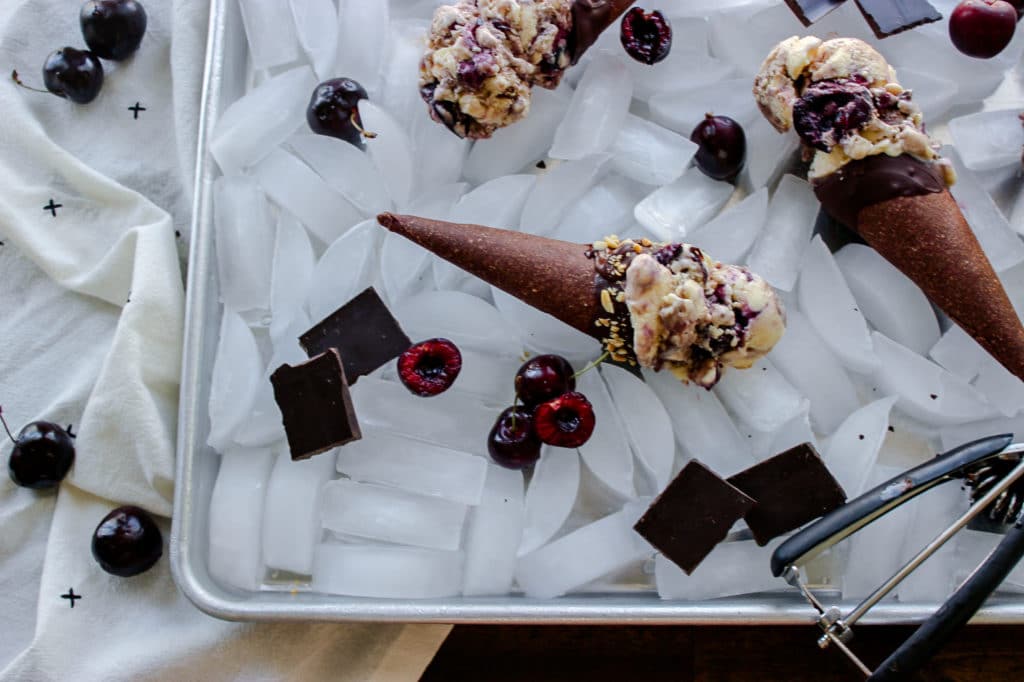
To wrap the cones around the mold, roll at an angle and use the mold as a guide. The trick is to make sure the bottom comes to a point and seals completely. The top of the cone should go about 1-2 inches over the mold and should overlap as it wraps around. Press lightly at the seam so it seals. Place the molds onto a parchment covered cookie sheet and bake until they are solid. Allow them to fully cool before removing from the mold (trust me…I am speaking from experience here). Eat them as is or melt sugar free chocolate and dip them! I sprinkled a few with some chopped peanuts for fun! Fill with a few scoops of your favorite low carb ice cream or try making this Low Carb Blueberry Ricotta Ice Cream. To store the extra cones, seal in a plastic container or plastic bag. They may soften a bit over time if it is really humid. They do store well in the fridge/ freezer!
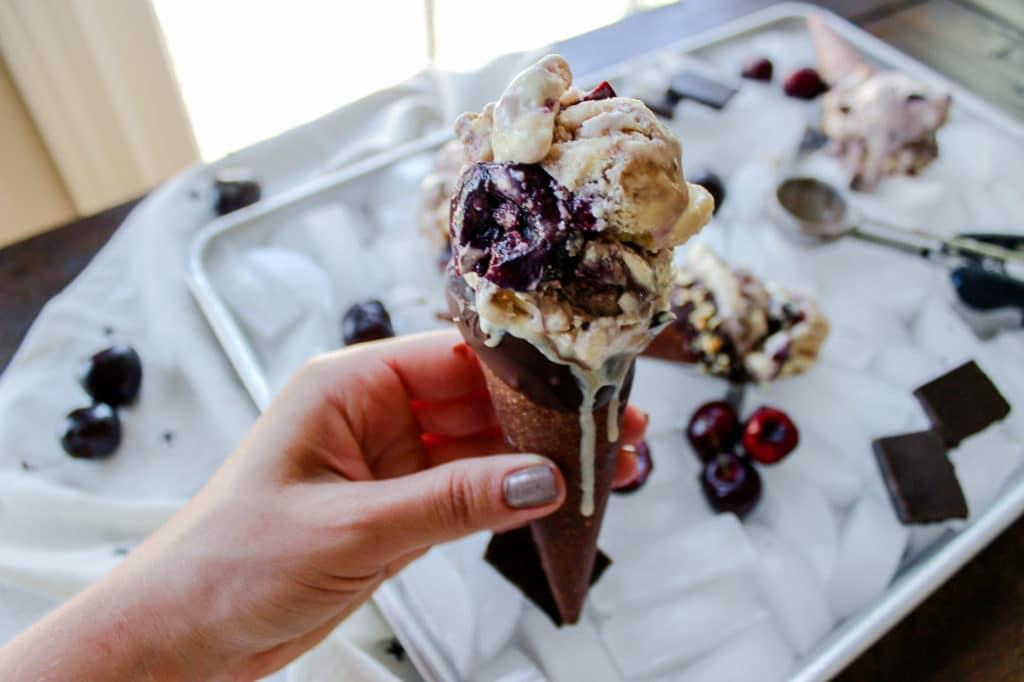
I hope you love this Keto Ice Cream Cone recipe as much as I did. Find the full recipe below!
Bon Appeteach,
-L
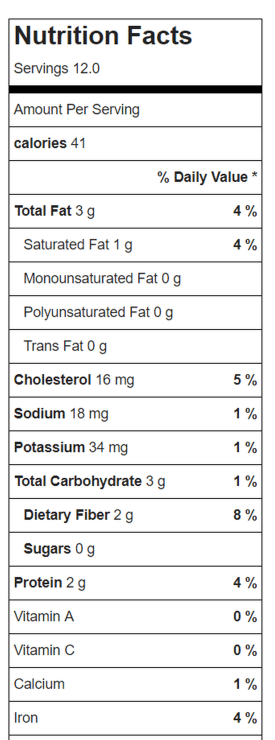
Nutritional Information- Obtained using My Fitness Pal. Please always verify with your own ingredients as brands vary.
Keto Ice Cream Cones
Print RecipeIngredients
- 1 1/2 cups Almond Flour
- 1/4 cup Coconut Flour
- 1 tsp Xanthan Gum
- 1 Tbsp. Vinegar (you won't taste this)
- 4 tbsp. of swerve
- 1/4 cup cocoa powder
- 1 Egg, beaten
- 2 tbsp extra water
Instructions
Preheat your oven to 375 degrees F.
In a food processor, combine the first six ingredients and pulse a few times to combine.
With the processor on low, add in the beaten egg. Then add in 1 tbsp of water. Check the dough. If it feels fairly try and crumbly add the other tbsp of water. The dough should easily come together into a ball.
Dump the dough out onto parchment paper and cover the top with another piece. This makes it easier to roll out. Roll out the dough to about 1/4" thickness.
Use a cookie cutter to cut out a circle. If you don't have a large enough cookie cutter to get a 5" circle, cut it out as large as possible and lightly roll out each individual circle a bit more to get to the right size.
To wrap around the cream horn, place the pointed edge towards the bottom of the circle. Lightly roll on an angle to wrap the dough around the mold. Make sure the bottom comes to a point and the edges may go 1-2" beyond the mold itself. This is ok!
Place each one onto a cookie sheet, seam side down. Bake for 5-7 minutes until crispy.
Allow them to cool completely before removing. Most of mine came straight off. A few need a bit more pressure but released.
Dip the cone edges in melted sugar free chocolate and sprinkle with chopped nuts.
Store in an airtight container or freeze!